Use Secure Messaging to communicate with your health care provider team within the patient portal. You can compose, forward, reply to, and archive (save) secure messages within the portal.
Do not use Secure Messaging to communicate urgent health problems or request same-day appointments.
Help Topics on This Page
- Multiple Linked Accounts and Secure Messaging
- Open Secure Message Inbox
- Inbox Tabs
- Create New Secure Message
- Refresh Inbox
- Page Size
- Columns
- Sort Inbox
- Open Secure Message
- Message Attachments
- Archive Messages
Multiple Linked Accounts and Secure Messaging
Your Secure Message Inbox is in the context of the patient whose name, gender, and age are displayed at the top of the portal page. Some users are authorized to access health care information for multiple people, for example themself and their child. These users have multiple linked accounts. Use the Select Patient list above the portal main menu to switch between your linked accounts. Click here for more information about Multiple Linked Accounts.
Open Secure Message Inbox
The Secure Message Inbox contains messages sent to your patient portal user account. The messages are in the context of the patient whose name, gender, and age are displayed at the top of the portal page. If multiple patient accounts are linked to your user account, when you select a different patient from the Select Patient list, the contents of your Inbox changes.
From the Messaging menu, select Secure Message Inbox.
Inbox Tabs
Your Secure Message Inbox has three tabs: Inbox, Sent, and Archive. 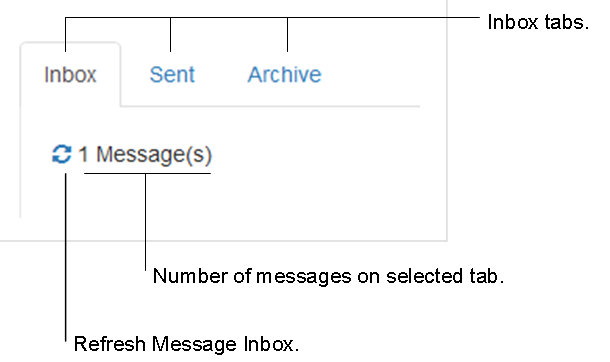
Create New Secure Message
Click New Message to create a new secure message from within your Secure Message Inbox. 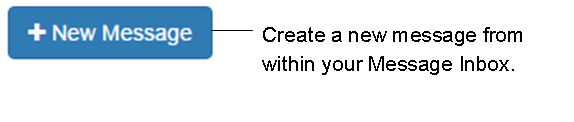 Click here for more information about creating a new secure Patient Correspondence message.
Refresh Inbox
Select to refresh your Inbox and get a current view of your secure message activity.
Page Size
From the Page Size menu, select a number to change the number of secure messages displayed per page. 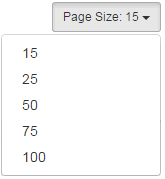
Columns
- Check Box - Use the check box to select one or more messages to Archive. Select the header row check box to select all messages on the displayed page. To deselect a message, deselect the message check box. Deselect the header row check box to deselect all messages on the displayed page.
- Subject / From / On Behalf Of - The message subject is a link. Click the message subject to open the message. This column also indicates who sent the message and if it was sent on behalf of someone.
- Patient Name / DOB - The messages in your Secure Message Inbox are in the context of the person listed in this column. This is either you or one of your linked accounts. Click here for more information about Multiple Linked Accounts.
- Type - Each message has an associated type. Type is a required field for a new message. Message types include Patient Correspondence, Prescription Request, and Appointment Request.
- Received - The date and time the message was received in your Secure Message Inbox. On the Sent tab it is the date and time that you sent the secure message.
- To - The name of the intended message recipient.
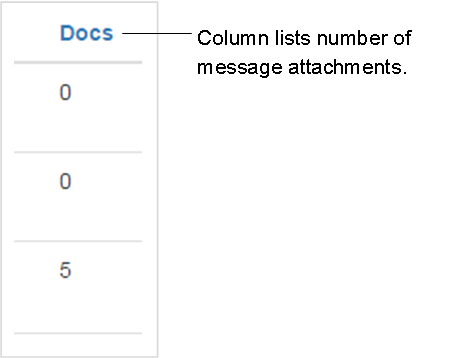
- Docs - The number of documents attached to the secure message.
Sort Inbox
Click a column header field to sort your Secure Message Inbox. An up arrow next to the field indicates an ascending sort order, for example, a to z, 1 to 10, oldest date to most recent date. A down arrow indicates a descending sort order, for example, z to a, 10 to 1, most recent date to oldest date. 
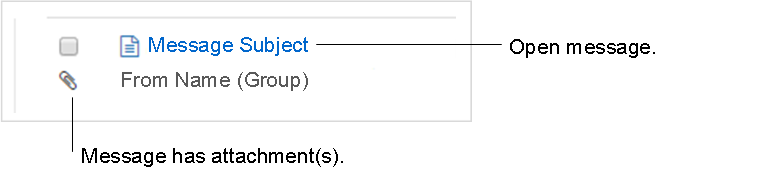
Open Secure Message
Click the message subject to open the message 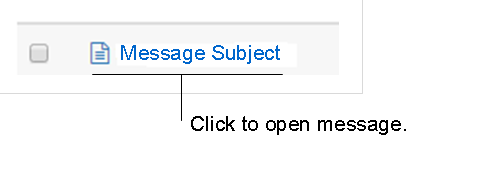
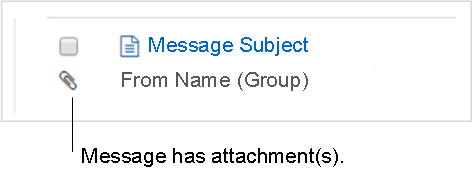
Message Attachments
- A under a check box indicates the message has one or more attachments
- The Docs column indicates the number of secure message attachments
- Click the message subject to open a message and see the attachments
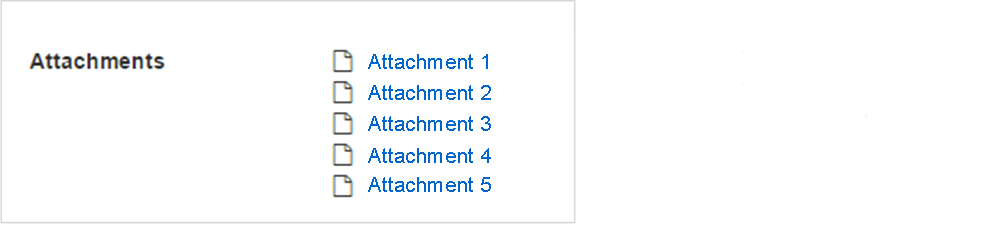
- Click the attachment name; the attachment is displayed in the document viewer
- Click Close to close the attachment and return to the message
- Click Back to Inbox to return to your Secure Message Inbox

Archive Messages
Archive messages from the Inbox and Sent tabs of your Secure Message Inbox. You can also Archive Inbox and Sent secure messages when you open them. Messages that you Archive can be viewed from the Archive tab in your Secure Message Inbox.
- Archive messages from Inbox or Sent tabs
- Click the check box next to the messages, then click Archive.
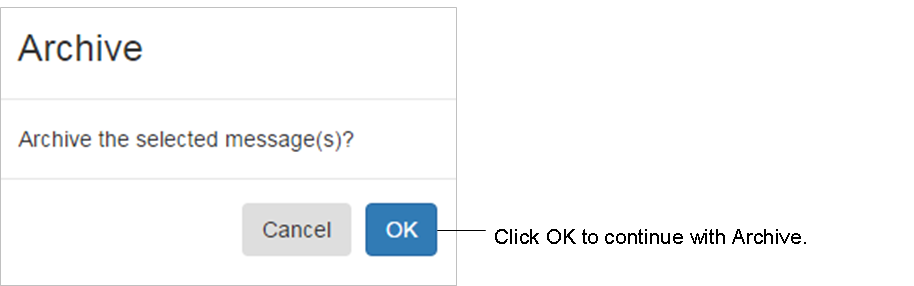
- Click OK on the Archive confirmation window.
 The messages are moved to the Archive tab in your Secure Message Inbox.
- Open and archive an Inbox or Sent secure message
- Click the message subject to open the secure message.
- Click Archive.

- Click OK on the Archive confirmation window The message is moved to the Archive tab in your Secure Message Inbox.