Secure Messaging is not for communicating urgent health problems or requesting same-day appointments.
Note: Message drafts are not saved. If you start a message, but do not send it, your draft will not be saved.
Help Topics on This Page
- Select Recipients
- Finalize and Send Message
- View Sent Messages
Select Recipients
Add message recipients by selecting them from a practice/group or your saved favorites. Select only one recipient per Practice/Group because to ensure a timely reply, all staff members in the selected recipient's practice/group will be able to view and respond to your message. Click here for more on selecting message recipients. After you select recipients, the New Message dialog box opens.
Finalize and Send Message
- After you select recipients, the New Message dialog box opens.
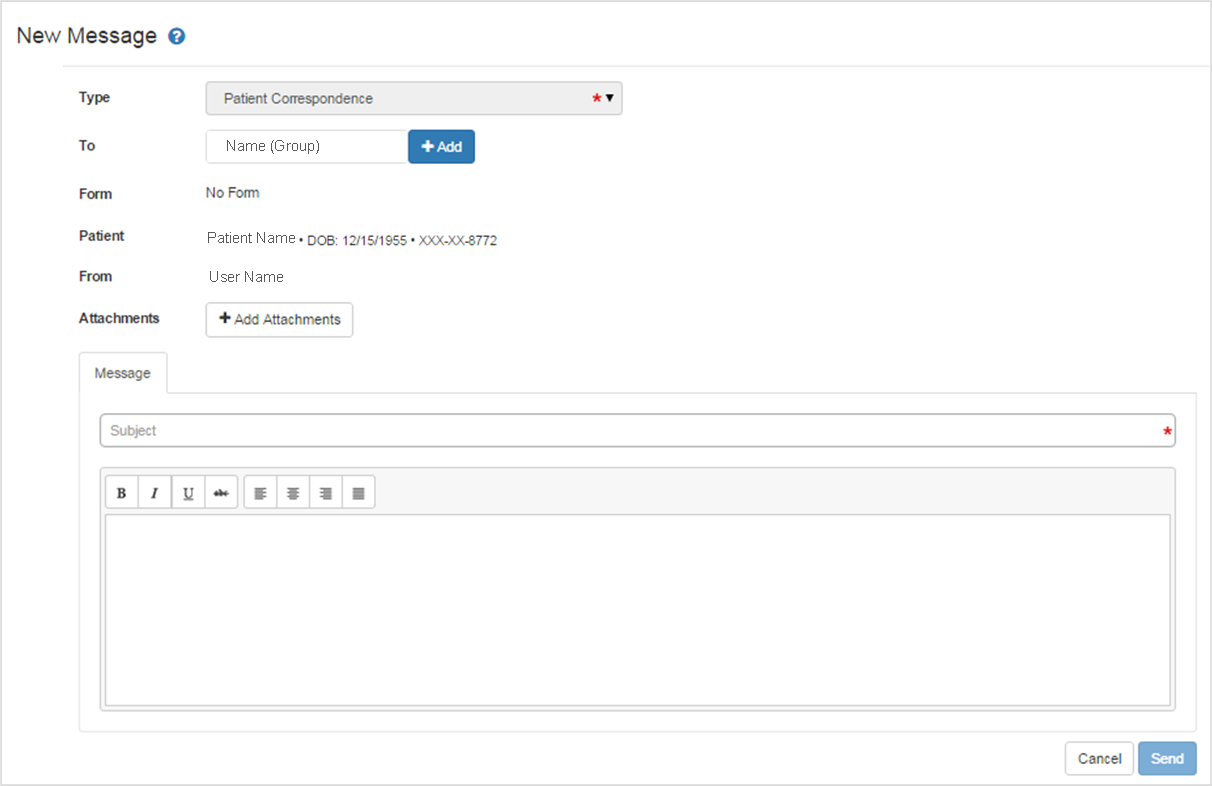
- Note these message details:
- Type defaults to "Patient Correspondence" and cannot be changed.
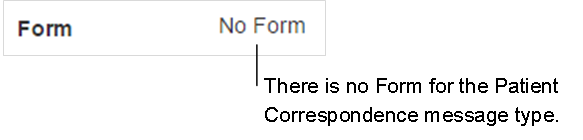
- There is no Form for this message type.
- The Patient field contains information for the Selected Patient.
- Add Attachments. More on adding attachments.
- Enter a message Subject. This is a required field. You can't send a message without a Subject.

- Type a message in the message body editor window.
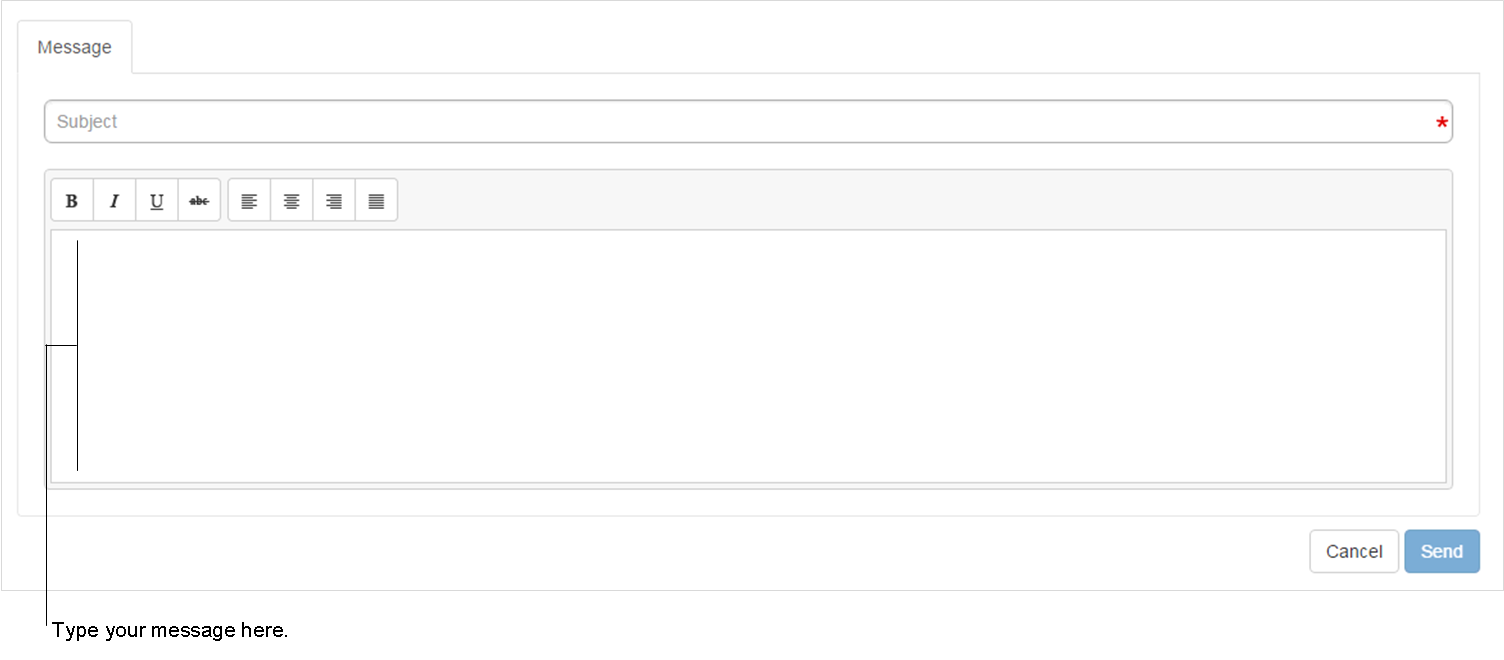
- Select Send. The message is sent.

View Sent Messages
- Select Secure Messaging in the menu bar, then Message Inbox.

- Select the Sent tab on the Message Inbox page and find the message.
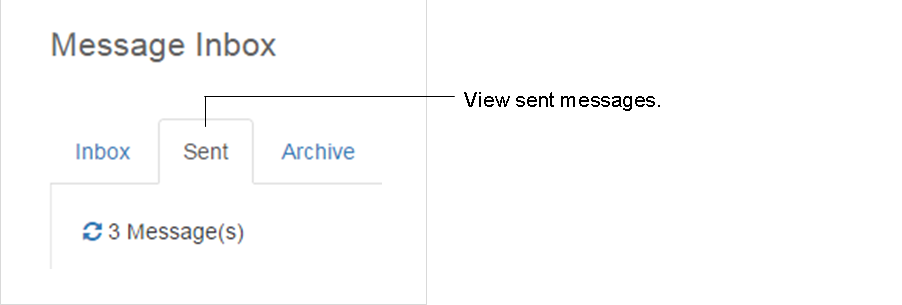
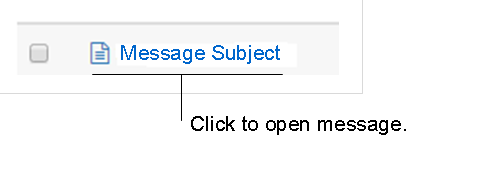
- Click the " message subject" link to view the message.